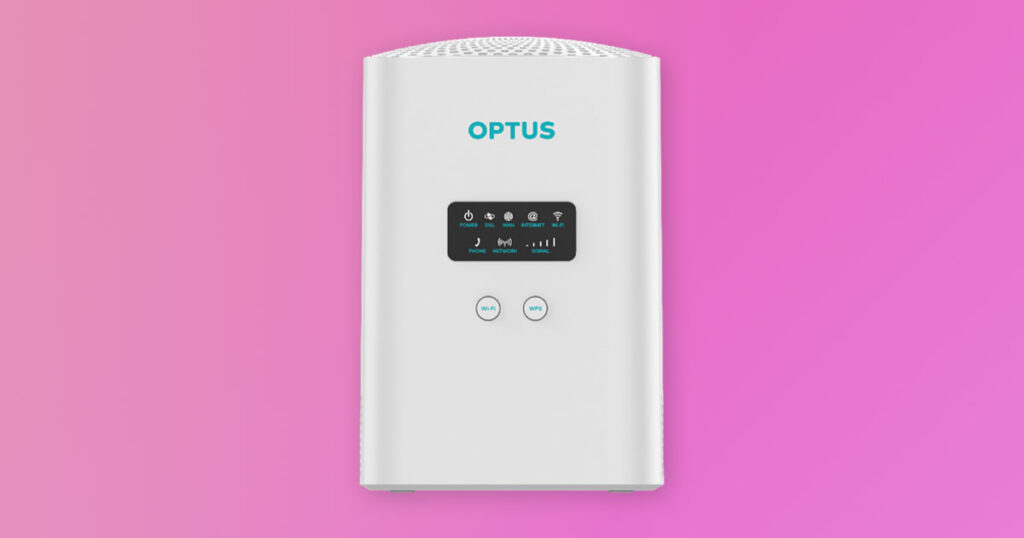
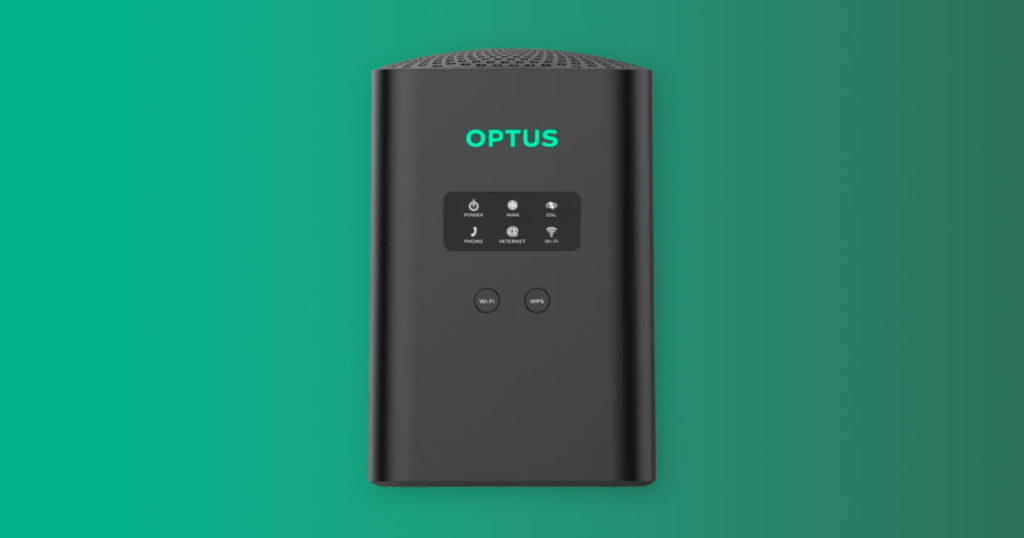
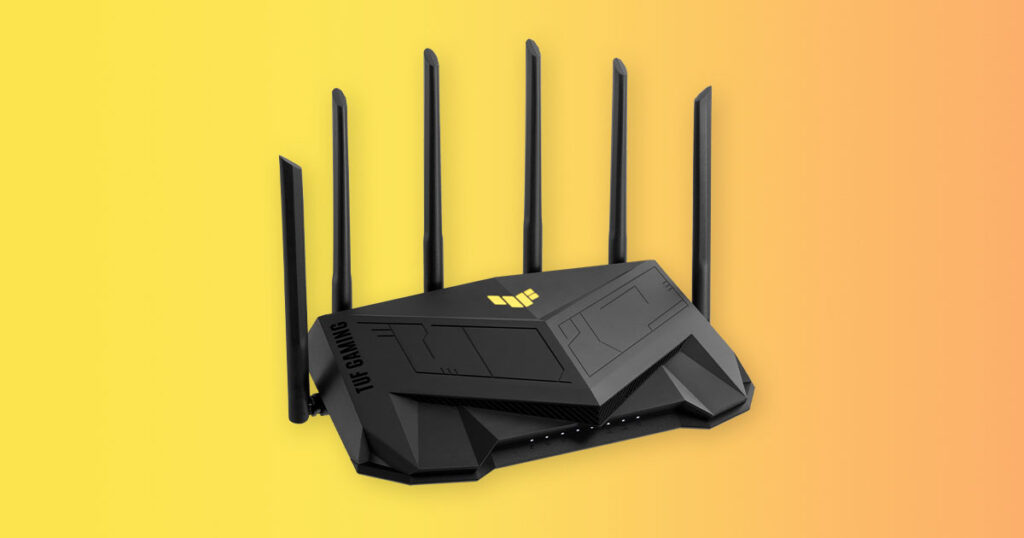
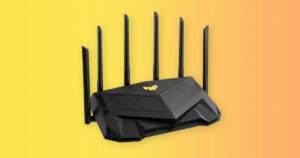
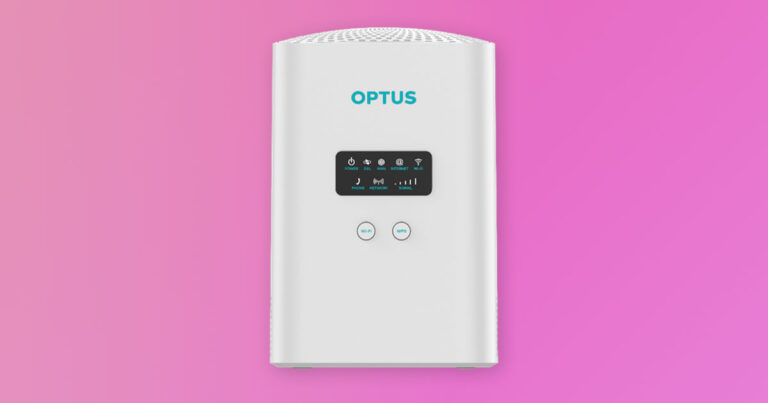
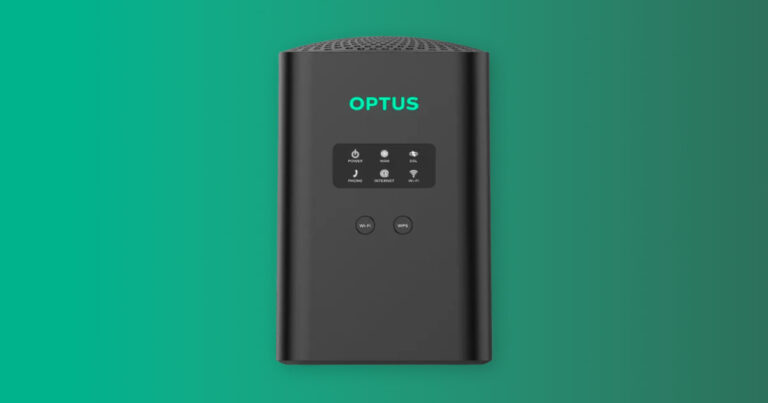
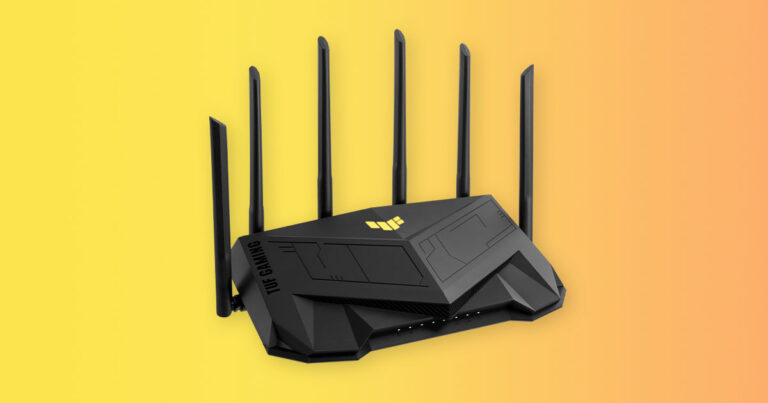
Optus Mobile Review ALDI Mobile Review Amaysim Mobile Review Belong Mobile Review Circles.Life Review Vodafone Mobile Review Woolworths Mobile Review Felix Mobile Review Best iPhone Plans Best Family Mobile Plans Best Budget Smartphones Best Prepaid Plans Best SIM-Only Plans Best Plans For Kids And Teens Best Cheap Mobile Plans Telstra vs Optus Mobile Optus NBN Review Belong NBN Review Vodafone NBN Review Superloop NBN Review Aussie BB NBN Review iiNet NBN Review MyRepublic NBN Review TPG NBN Review Best NBN Satellite Plans Best NBN Alternatives Best NBN Providers Best Home Wireless Plans What is a Good NBN Speed? Test NBN Speed How to speed up your internet Optus vs Telstra Broadband ExpressVPN Review CyberGhost VPN Review NordVPN Review PureVPN Review Norton Secure VPN Review IPVanish VPN Review Windscribe VPN Review Hotspot Shield VPN Review Best cheap VPN services Best VPN for streaming Best VPNs for gaming What is a VPN? VPNs for ad-blocking Before we get into what you need to know about setting up your Optus NBN modem, check out a selection of cheap Optus NBN plans from our comparison engine. If you live in a larger home and need more range on your WiFi signal, there’s also an optional Optus Ultra WiFi Booster you can purchase (one is included in the Optus Internet Family Entertainer Fast plan). Once positioned, plug in the power adapter to the Optus NBN modem and the other end into to a nearby power socket, then switch on the power. The NBN technology that connects your home and Optus NBN modem specifics will determine the next steps. But once you’re connected, be sure to use the WiFi details provided to connect your wireless devices and/or Ethernet cables to connect up to four wired devices. Fibre-to-the-Building (FTTB) and Fibre-to-the-Node (FTTN) users need to connect one end of the telephone cable into the NBN wall socket and the other end into the grey DSL port on the Optus Ultra WiFi Modem. Be sure to have a direct connection with the telephone cable that doesn’t use any line filters. Once these respective cables are connected, if everything is working as it should, the WAN and Internet lights on the front of the Optus Ultra WiFi Modem should light up within 20 minutes. If you don’t see any flashing activity lights on the Optus Ultra WiFi Modem after three hours, reach out to Optus NBN support. For additional information, read the Optus Ultra WiFi Modem quick-start guide (PDF). Alternatively, FTTB and FTTN users should connect one end of the telephone cable into the NBN wall socket (without any line filters) and the other end to the grey port on the Sagemcom Fast 5366 TN. Once plugged in, it shouldn’t take more than 20 minutes for you to see the WAN and Internet lights on the Sagemcom Fast 5366 TN indicating you’re connected. Optionally, test your connection by inputting the http://192.168.0.1 address into a web browser, then enter the username and password from the provided magnet to log in. For additional information, check out the Sagemcom Fast 5366 TN quick-start guide (PDF). For FTTB and FTTN users, link the telephone cable between the grey DSL port on the Asus AX5400 Gaming Modem and plug the other end into the NBN wall outlet. With those respective cables connected, now is the time to power on the Asus AX5400 Gaming Modem at the wall and via the power switch on the back right of the modem-router. Wait a few minutes for the Asus AX5400 Gaming Modem to automatically configure. You should see a solid white light on the DSL LED (FTTN and FTTB) or WAN LED (FTTP, HFC and FTTC) to indicate the internet is connected. If you want to access the Asus AX5400 Gaming Modem’s admin page to change details like the WiFi username and password, type in router.asus.com or 192.168.0.1 into a browser address bar. The login name is ‘optus’ and the password is the same as the default WiFi password on the white label underneath the modem-router. From here, go to ‘Network Map’, then ‘System Status’ to change WiFi settings; just hit ‘Apply’ to save the settings. For additional information, read the Asus AX5400 Gaming Modem quick-start guide (PDF).
